How to Master the Art of Sourdough at Home: A Comprehensive Guide to Perfect Loaves
Mastering the art of sourdough at home offers bakers a rewarding and fulfilling experience. With the right techniques and a little patience, anyone can create delicious, artisan-quality bread that features a perfect crust and a soft, chewy interior. The joys of sourdough extend beyond the basics of baking; it involves understanding the fermentation process and cultivating a healthy starter.
In this exploration of sourdough, readers will learn essential tips for nurturing their starter, achieving ideal dough consistency, and perfectly timing their bakes. Emphasising a hands-on approach, this guide focuses on practical advice that transforms everyday ingredients into exceptional loaves of bread. With dedication and practice, the art of sourdough can become a delightful part of any home baking routine.
Setting Up For Sourdough Success
A successful sourdough baking experience begins with the right tools and a solid understanding of the fermentation process. Careful preparation will lead to better results in flavour and texture.
Essential Tools and Ingredients
To start sourdough baking, specific tools and ingredients are crucial. A digital kitchen scale ensures accurate measurements, indispensable for consistent results. Measuring flour by weight prevents variations that can affect dough hydration.
Key ingredients include:
- Strong white bread flour for structure.
- Whole wheat flour or rye flour for added flavour.
- Filtered water to avoid chemicals that can inhibit yeast activity.
- Sea salt to enhance flavour and control fermentation.
A dough scraper aids in handling sticky dough, while a proofing basket helps shape the loaf. A cast iron pot or Dutch oven is recommended for creating steam, essential for crust development during baking. Finally, baking paper aids in transferring loaves easily.
Understanding The Science of Sourdough
Sourdough relies on the symbiotic relationship between wild yeast and beneficial bacteria. This natural fermentation process, which occurs when flour and water are mixed, creates a stable leaven that imparts flavour and rises.
The fermentation process involves:
- Cultivating wild yeast from the environment.
- Encouraging beneficial bacteria, primarily lactobacilli, which produce lactic acid.
This balanced fermentation leads to the characteristic tang of sourdough. Proper hydration levels are crucial in managing dough consistency. Too much water can weaken gluten structure, while too little can lead to a dense loaf.
Understanding these factors ensures proper leaven development and contributes to the desired texture and flavour in the final bake.
Cultivating and Maintaining a Sourdough Starter
Creating and nurturing a sourdough starter involves combining flour, water, wild yeast, and bacteria. This process forms the basis for developing flavour and leavening in sourdough bread.
Starting Your Starter From Scratch
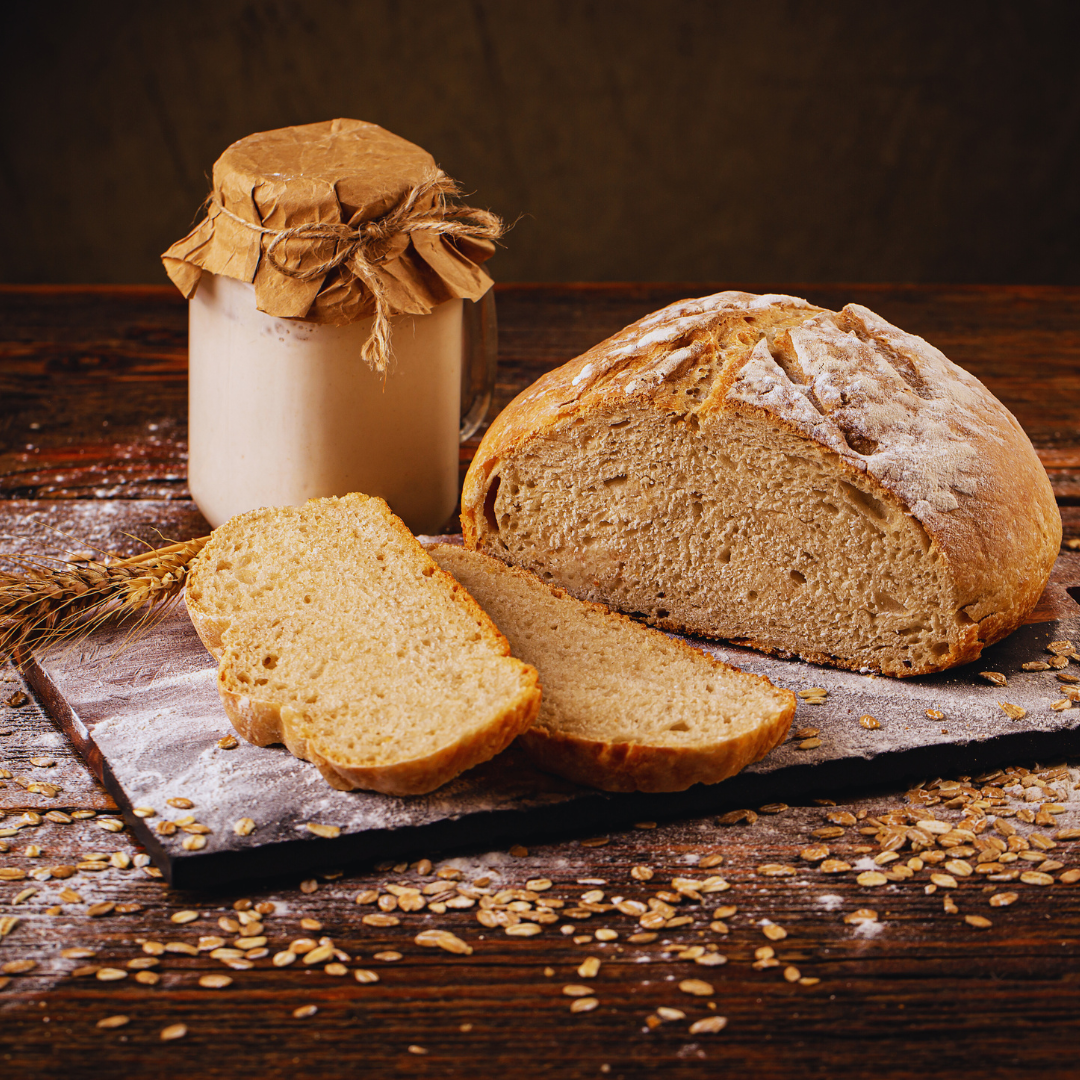
To begin a sourdough starter, measure equal parts of flour and lukewarm water. A common starting point is 100 grams of flour mixed with 100 ml of water. Use organic, unbleached flour to increase the likelihood of incorporating wild yeast. Wholegrain flours, like whole wheat or rye, can be especially effective.
Combine the ingredients in a clean glass or plastic container. Stir to create a smooth mixture, then cover loosely with a cloth or lid to allow airflow. Place it in a warm environment, ideally between 20-25°C.
After 24 hours, check for bubbles, indicating fermentation. If bubbles appear, continue feeding the starter with the same ratio of flour and water every 24 hours. If no bubbles are visible, wait another day before feeding.
Feeding and Storing Your Starter
Feeding involves removing some starters and adding fresh flour and water to encourage growth. A typical feeding ratio is 1 part starter, 1 part water, and 1 part flour. For example, if using 50 grams of starter, add 50 grams of water and 50 grams of flour.
Ideally, store the starter at room temperature if baking frequently. For longer intervals between baking sessions, consider refrigerating it, which requires feeding every 5-7 days.
When stored in the fridge, the starter will become dormant, slowing down fermentation. Prior to baking, bring it back to room temperature and feed it at least once. Observe for bubbles and a pleasant aroma as signs of readiness to use in recipes.
The Sourdough Bread-Making Process
The sourdough bread-making process involves several crucial steps that transform simple ingredients into a beautifully risen loaf. Understanding each stage ensures consistent results and enhances flavour and texture.
Mixing and Autolyse
To begin, combine flour and water in a bowl. This initial mixing forms a shaggy dough. The aim is to hydrate the flour adequately, allowing enzymes to start breaking down starches and proteins.
After mixing, a period of autolyse follows, usually lasting about 30 minutes to an hour. During this time, gluten begins to develop naturally. This process makes the dough easier to work with later on and results in a better crumb structure.
Salt is added after the autolyse, typically at a 2% ratio to the flour weight. It strengthens gluten and enhances flavour. Mixing the salt into the dough ensures even distribution, which is essential for optimal fermentation.
Bulk Fermentation and Folding
Bulk fermentation is where the dough rises and develops flavour. This stage typically lasts from 3 to 6 hours, depending on the room temperature and the sourdough starter’s activity. During this time, the dough should be turned or folded every 30 minutes for the first two hours.
Folding helps create strength and structure, contributing to the final loaf’s height and texture. The dough should become smoother and more elastic over the fermentation period. Observing the dough’s rise is key, aiming for about a 50% increase in volume.
Proper bulk fermentation leads to a well-aerated dough. It is essential for achieving the desired open crumb commonly found in artisan sourdough bread.
Shaping and Proofing The Dough
After bulk fermentation, the dough is gently turned out onto a floured surface for shaping. The goal is to create surface tension, which helps the dough maintain its shape during proofing and baking.
Shape the dough into a batard or a round, depending on preference. Careful manipulation ensures the dough retains gas bubbles accumulated during fermentation. Once shaped, place it in a proofing basket lined with flour.
Proofing can take anywhere from 30 minutes to several hours, depending on the ambient temperature. A warm environment encourages fermentation, while a cooler one slows it down. The dough is ready for baking when it is slightly puffy but not doubled in size.
Scoring, Baking, and Achieving Oven Spring
The final steps involve scoring the dough. This action uses a razor blade or scorer to make shallow cuts on the dough’s surface. Scoring controls the bread’s expansion in the oven, allowing for proper oven spring.
Preheat the oven, ideally with a cast iron pot or baking stone inside for even heat distribution. The temperature should be around 230°C (450°F). As the dough bakes, steam created from the initial moisture helps the crust develop.
Achieving oven spring is essential for optimal rise and texture. A well-baked sourdough loaf will have a crisp crust and a chewy, airy crumb. Monitoring the colour and sound of the crust ensures it is perfectly baked.
Perfecting and Enjoying Your Sourdough
Mastering sourdough is about fine-tuning techniques and embracing the joy of homemade bread. This section covers troubleshooting common issues, proper storage and serving methods, and experimenting with new recipes.
Troubleshooting Common Issues
Baking sourdough can present challenges. Common issues include dense bread, lack of rise, or a crust that’s too hard.
- Dense Bread: Ensure the starter is active and bubbly. Adjust hydration levels and knead the dough thoroughly.
- Poor Rise: Check that the dough is allowed to ferment adequately. Temperature can affect rise; warmer environments generally help.
- Hard Crust: Control oven temperature and steam levels. A baking stone can also promote even cooking.
Finding solutions may require adjustments to ingredients or techniques. Regular practice leads to better understanding.
Storing and Serving Fresh Bread
Once baked, proper storage keeps sourdough fresh. Bread can be stored in a paper bag or wrapped in a clean tea towel to maintain crust quality.
- Room Temperature: For short-term storage (1-2 days), leave it in a breathable container.
- Long-Term Storage: For longer freshness, slice and freeze bread in an airtight container. Thaw slices as needed.
Serving fresh sourdough is an experience. Pair it with butter and jam, or serve alongside soups and salads for a delightful meal.
Experimenting With New Sourdough Recipes
Exploring different sourdough recipes can enhance skills and taste preferences. Consider variations like adding herbs, seeds, or cheeses.
- Herbed Sourdough: Incorporate fresh herbs during the mixing phase for a flavour boost.
- Seeded Bread: Add sunflower seeds or flaxseeds for texture and nutrition.
Joining online sourdough communities can provide inspiration and tips. Sharing successes and failures enriches the baking journey.